
How to Plan a Stargazer’s Home: Designing Your House and Observatory Together
A five-step guide from MC2 Homes, the builder at Red Hawk at J-6 Ranch
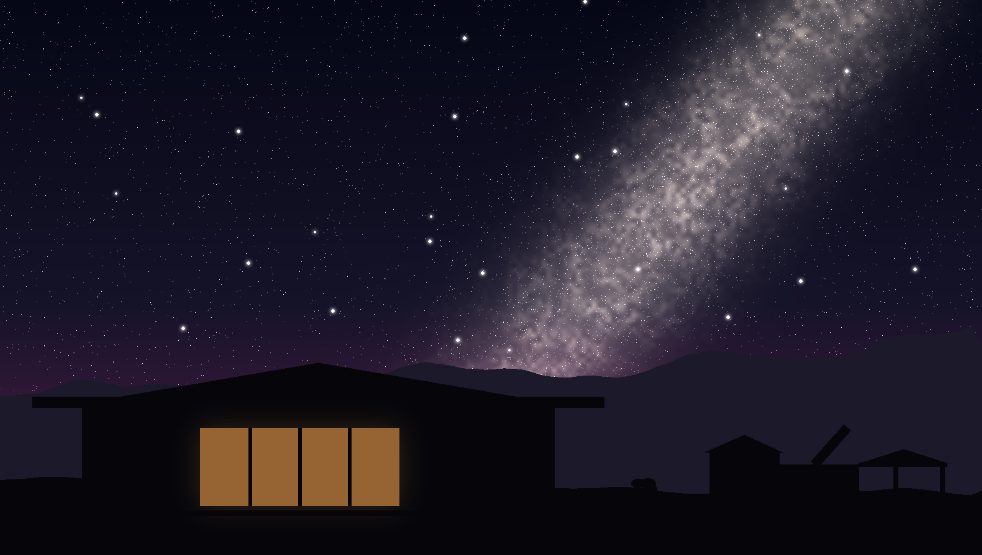
Big glass faces the view; the observatory sits well away from the house.
Plan a stargazer’s home by deciding where the observatory goes first, then placing the house, its windows and its outdoor lights so they don’t wash out that patch of sky. At Red Hawk at J-6 Ranch, MC2 Homes can plan both together, so the foundation, trenching and framing happen on one schedule.
Most buyers pick a floor plan and then figure out the yard. If you love the night sky, do it the other way around. Here is how.
The five steps
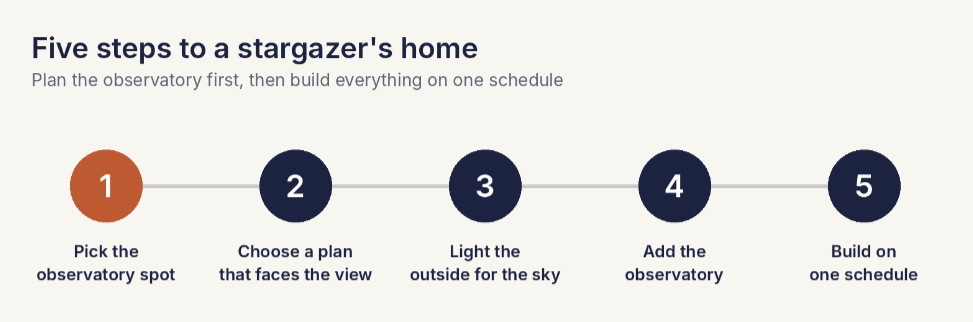
The five steps to a stargazer’s home.
Step 1: Pick the observatory spot first
Walk the lot with your builder and choose where the observatory will go before you choose where the house goes. Look for the clearest view to the south and the most distance from where the house’s lights will be.
Step 2: Choose a plan that faces the view
MC2 Homes offers 24 floor plans at Red Hawk, from 1,398 to 3,580 square feet with 3 to 4 bedrooms. Many feature open great rooms and 16-foot-wide patio sliders. Aim that big glass toward the mountain view and away from the observatory, so indoor light does not spill across your observing field.
Step 3: Light the outside for the sky
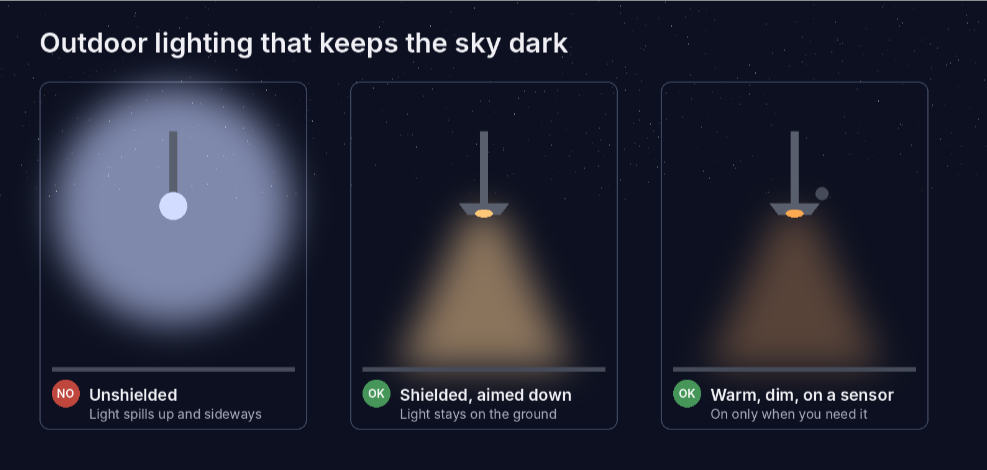
Shielded, warm, motion-activated lights keep your sky dark.
Use shielded fixtures that point down, choose warm bulbs (3000K or lower is the usual dark-sky guideline), and put porch and path lights on motion sensors or timers. Add shades to large windows for observing nights.
Step 4: Add the observatory like any other option
MC2 already offers add-ons such as a casita, an RV garage and a grain bin gazebo. An observatory can be planned the same way: FrameUpNow could design a small ADU-style observatory framed in the same cold-formed steel as your home.
Step 5: Build everything on one schedule
Custom homes at Red Hawk can be built in as little as six months. Planning the observatory up front means its separate telescope footing, power and data lines go in with the home’s foundation and utility trenching, not as a second project later.
Energy Star by day, stars by night
MC2 Homes are designed to earn an Energy Star rating, and a small additional investment can make them NetZero. Red Hawk sees close to 300 sunny days each year, so solar panels earn their keep by day while the sky does its work by night.
Frequently asked questions
Should my observatory be attached to the house?
Usually not. A detached observatory keeps house lights out of your view, and heat rising off a roof can blur the image in a telescope. Footsteps inside a house can also shake an attached telescope.
What outdoor lights are best for stargazing?
Shielded fixtures that point down, with warm bulbs at 3000K or lower, on motion sensors or timers. For the path to the observatory, use dim red lights, which protect your night vision.
Will large patio windows ruin my night views?
Not if you plan for them. Aim the big glass away from your observing direction and add shades or curtains you can close on observing nights.
How long does it take to build a home at Red Hawk?
Custom homes at Red Hawk can be built in as little as six months. Planning the observatory at the same time keeps it on that schedule.
Start with a site visit
Walk your lot with MC2 Homes, choose the observatory spot, and build the plan from there. Learn about the community at redhawkj6.com.